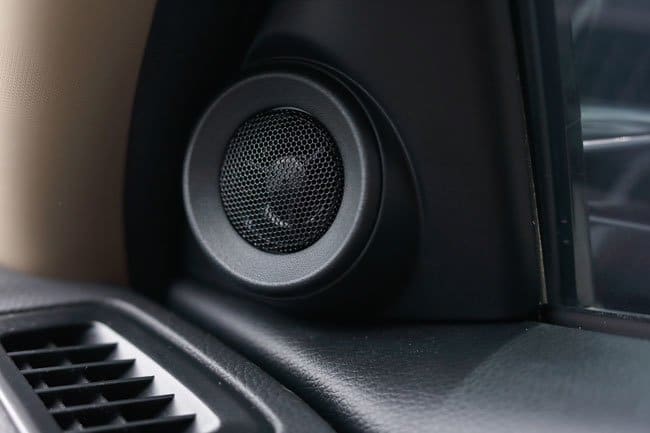
Your car music experience cannot be complete without having treble. You can add treble by installing tweeters. Tweeters reproduce high-frequency sound, which is also known as treble. Treble includes sounds from music instruments, keyboards, and some drum effects. They’re especially important when using component car speakers.
If you’re planning to install tweeters in your car, you can save your money by installing them yourself. You don’t have to take your car to an expert to have them installed. All you’ll need are the right tools and steps on how to go about it. Read on through this guide and learn how to install car tweeters yourself.
Step 1- Turn off your car engine
Before proceeding with the tweeter installation process, the first thing you should do is to turn off your car engine. The tweeter installation process involves wiring and opening up some panels in your car. Thus, the last thing you would want is short circuits or burning out anything.
Step 2- Disconnect the negative terminal on the battery
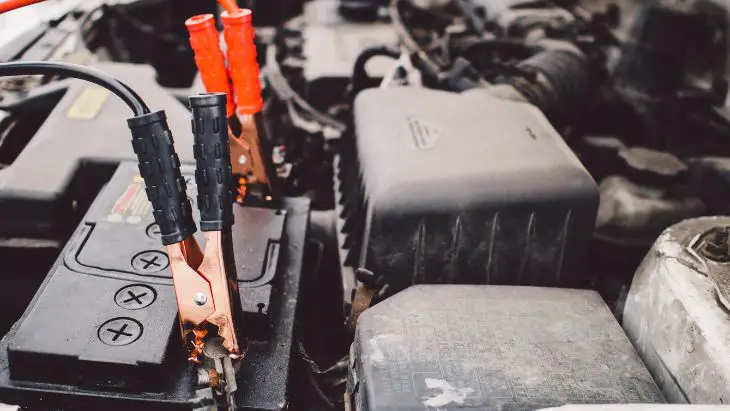
You can make the installation process safer by disconnecting the negative terminal on the car battery. While turning off the car engine helps, you should also disconnect the battery to avoid any short circuit during the wiring process. Once done, you can proceed with the installation process.
Step 3- Think about the mounting locations
There’re several areas where you can install tweeters in your car. Also, there’re several ways of mounting tweeters. Tweeters are typically small, thereby making it possible to install them in just any car. They don’t take a lot of space. You can choose between surface mounting, bottom mounting, flush mounting, and angle mounting.
To start with, surface mounting involves mounting a tweeter in such a way that it sits on a panel. In this type of installation, the tweeter sits in a cup that is fixed onto the surface with a screw. The tweeter can also be mounted on the surface using an adhesive. Surface mounting is advantageous if you don’t want to alter the interior of your car. It doesn’t demand a lot of modification. Besides, surface mounting reduces labor and the amount of time taken to install. However, a tweeter is extremely noticeable in surface mounting since it is entirely exposed outward.
Bottom mounting is yet another simple tweeter mounting method. It involves mounting a tweeter under an existing grille. In this mounting method, you’ll only remove a grille, install the tweeter, and reattach the grille. Thus, you won’t cut any new holes in the panels. Moreover, the tweeters will be hidden from your view.
Flush mounting involves cutting out a hole on the dash or door panel for installing the tweeters. This mounting method is customizable and makes it possible to install the tweeters in such a way that it sits flush with the panel. However, this mounting method is labor and time-intensive. It involves cutting out tweeter installation holes.
Finally but not least, you can opt for angle mounting. Angle mounting is where the tweeters are installed at an angle for creating a sweet listening spot. Some tweeters are specially designed for angle mounting or you can get mounting cups that allow for angle mounting. Some mounting cups will allow you to adjust the angle of the tweeters to your liking. Angle mounting often involves surface mounting the tweeter at an angle.
Step 4- Detach any necessary panels
If you’ll be installing the tweeters by flush mounting them, then you’ll need to detach the necessary panels and make holes for mounting. Also, you might need to detach some panels if you’re wiring the tweeters within the panel. For instance, flush mounting a tweeter on the door will need cutting a hole through the door panel and wiring it within the door panels. In this case, use a screwdriver to detach the door panel. Drill the right size of a mounting hole with a drill. Also, flush mounting a tweeter on the dash may also demand removing the dashboard for concealed wiring.
Step 5- Mount the tweeters
When flush mounting tweeters, mount them within the holes you’ve drilled. If you’re bottom mounting the tweeters, detach the grilles and mount the tweeters in place. If you’re surface mounting the tweeters, screw the mounting cup and insert the tweeter in place. If the tweeters have an adhesive for surface mounting, peel the paper covering the back surface to expose the adhesive and stick the tweeter in place.
Step 6- Wire the tweeters to the crossover or head unit
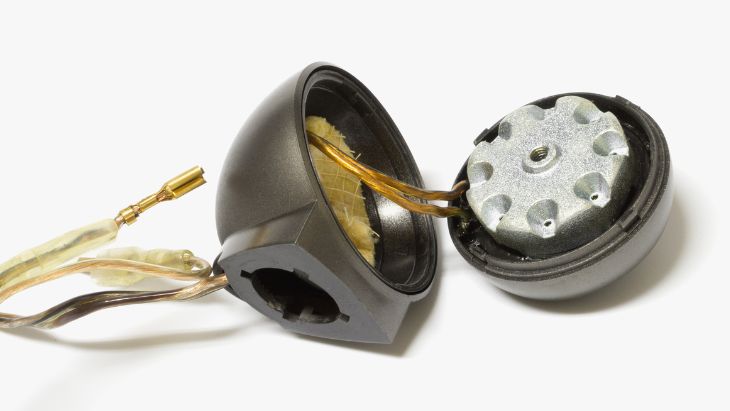
Upon mounting the tweeters, wire them to the crossover or head unit. If you’re using a component speaker system, you probably have a crossover. A crossover will filter sound from the amplifier to ensure that the tweeters are only fed with high frequencies. If you don’t have a crossover in place, then route the wires to the head unit. Most modern head units come with an inbuilt crossover.
Ensure you connect the terminals properly for the tweeters to work properly. In this case, buy a speaker wire that is differently colored for easier wiring. For instance, if you buy a black and red wire, you can wire the red cable to the positive terminal and the black cable to the negative terminal.
Step 7- Test the tweeters
Upon mounting the speakers and wiring them, reconnect the battery terminal you disconnected. Then start your car engine and play some music. If all the tweeters are sounding right, then you’ve connected everything properly. If one or more tweeters are not sounding right, switch off the engine, disconnect the battery, and check the wiring. Then test the tweeters again.
Step 8- Reattach any detached panels
If all the tweeters sound right, reattach any grilles and panels you removed and start enjoying your car music with treble.
Conclusion
As you can see, installing car tweeters yourself is not quite difficult. You just need to spare some of your time for the installation process. After all, you’ll find it quite fun doing it yourself. You’ll even feel happy about yourself after doing it right all by yourself. Thus, don’t pay a hefty sum of money to an expert for something you can easily do yourself.
Michael Evanchuk is a San Francisco-based sound engineer with 20 years’ experience installing, troubleshooting, and repairing commercial, automotive, and household sound equipment. Evanchuk owns an auto stereo center, where he offers highly competitive car audio installation and repair services. He has written dozens of articles on different sound engineering topics, all of which have been published in leading journals, blogs, and websites.

