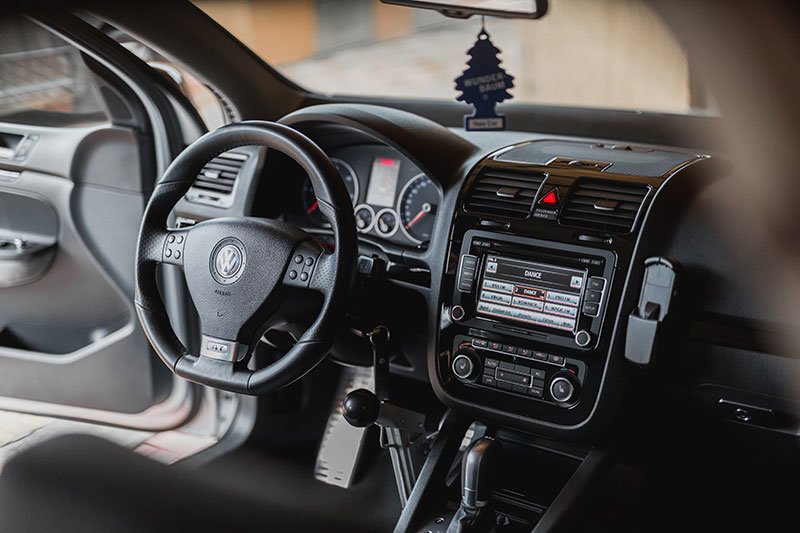
If you’re using a factory stereo in your car, then you should consider upgrading. Factory stereo units are not what you would stick to if you love quality audio in your car. Factory stereos only deliver a basic sound experience. For a better experience, you need to consider doing away with the factory stereo and upgrade with a dual aftermarket stereo. Dual stereos come with the benefit of enhanced sound quality, more functionality, and modern features. You can even install it on your own. Although it might sound difficult to install a dual stereo on your own, it’s something you can do without much difficulty. You only need to know how to detach the old factory stereo and attach the new dual stereo. Luckily, we’ve prepared a guide on how to install a dual car stereo. Follow this guide to install your new stereo easily.
Step 1- Gather the right tools
You’ll need some tools for the installation such as:
- Panel trim tool
- Screwdriver set
- Wire strippers
- Wire connectors
- Soldering iron (optional)
- Your new dual car stereo
Step 2- Turn off your car and detach the negative battery terminal
First and foremost, your car should be turned off before doing anything. Put the car in parking mode and put the handbrake on to avoid any movement when doing the installation work. Next, detach the negative battery terminal. Doing so is important to avoid any accidental short-circuits when working on power connections. You’ll avoid accidents just in case any metallic tool touches some electric cables leading to sparks or even a fire. Thus, safety should come first before proceeding with the installation.
You may also read: Car Audio Capacitor vs. Battery: Which Should I Add?
Step 3- Disassembling your dashboard

You’re now ready to get down to work. To remove the factory receiver, you need to access it by prying out the dashboard. In most cars, you’ll only need to detach a small trim of the dashboard to expose the receiver. In some cars, you might have to detach a larger part of the dashboard. You need to detach the panel surrounding the receiver. Once you’re ready to start, take the trim tool and pry the dashboard outwards along its edges. As you pry along the dashboard, use your fingers to pull out the dashboard. The trim tool will assist you in prying out the dash without injuring your fingers.
Once the dashboard surrounding the radio is removed, you’ll be able to access the radio to detach it. Most radio units are attached in place with some screws. Grab your screw set and use the right screwdriver to unscrew the radio from the place. Once done, you’ll definitely find cabling connected to the radio. Unplug each and every wire connector from the radio. There may be multiple connectors and harnesses depending on the type of the radio unit.
Step 4- Preparing the wiring harness
Next, you need to prepare the wiring harness for connecting your dual car stereo. You can start with connecting the ground wires and then proceed to other wires. Connecting the ground wire from your new stereo to the factory grounding wire is as simple as twisting the wires together. Once the ground connection is ready, connect the harnesses.
Your new stereo may come with its own harness. You’ll need to connect the aftermarket harness to the existing harness in your car. To make the work easier, use wire connectors to connect the dual stereo harness to the car harness. Using connectors will make a tight, easy connection such that you won’t have to cut and solder the wires together.
What if your car doesn’t have a factory harness?
Well, maybe you had previously installed another radio unit and had to cut the factory harness. And now you need to install a dual stereo and you don’t have a factory harness since you already cut it out and are left with bare cables. If this is the case, you’ll have to cut the harness that comes with the new stereo to solder the wires together.
Connecting cables that are cut might be a bit tricky. You can get a wiring diagram for your car model from the internet for an easier connection. You’ll find the colors for the power, memory, speaker, ground cables, and other connections. You’ll need to connect the cables correctly to avoid damaging your stereo or failing to get some functionalities.
Alternatively, you can make a new wiring harness. To do this, you’ll need to get a rectangular connector that can fit in your new stereo. The pin spacing on the connector needs to be the same as the spacing on your receiver. You can get a connector with multiple, small connectors and cut out any extra pin length. You’ll need to visit the internet and get a pin-out diagram for the specific receiver model. Cut the factory wires and attach them to the connector one by one. The pin-out diagram will assist you to know which wire should go to which pin. Once you’re done attaching the wires to the connector, you’ll have made yourself a new harness.
Step 5- Connecting accessory cables
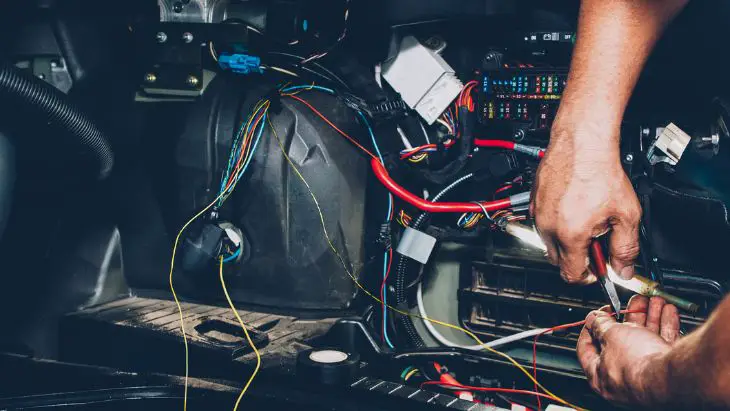
Now that most of the cables are ready, you should start getting all accessory cables in place. Modern dual receivers come with accessories such as a Bluetooth microphone and USB. You’ll need to route the USB cable to where it’s easily accessible. Also, you need to route the microphone to where it can easily pick your voice clearly. The Bluetooth cable should be routed in such a way that it doesn’t get caught by the steering mechanism. The cables should be routed from your chosen areas to the receiver area where you’ll connect them to the receiver.
Step 6- Attaching the new dual car stereo
Now that your cables and harnesses are ready, it’s time to connect your new stereo. Plug every harness and accessory cable in the right place. Ensure each and every harness is put in place tightly to prevent your receiver from cutting out, especially when driving along rough roads. Once every cable is in place, you can go ahead and screw the stereo unit in place.
Step 7- Test your new stereo
It’ll be wise to test your new receiver before assembling the dashboard. Doing so will make it easier to correct mistakes just in case something is not working right. Thus, you can reconnect the car battery and start your car to test the receiver. If everything is okay, you’re good to go. In case something doesn’t sound right, switch off your car, disconnect the battery, and double-check the receiver connections.
Step 8- Assemble the dashboard
Once everything sounds right, it’s time to assemble the dashboard back in place. Simply place the dashboard in position and press it inwards until all the edges are in place. Reconnect the battery and enjoy your new dual stereo.
As you can see, it’s not that difficult to install a dual stereo. You only need to have a few tools ready and follow this proper guide on how to install a dual car stereo. Upgrading your factory receiver with a dual stereo will get your car music experience to a whole new level. Don’t wait any longer to get enhanced sound in your car. Upgrade now!
Michael Evanchuk is a San Francisco-based sound engineer with 20 years’ experience installing, troubleshooting, and repairing commercial, automotive, and household sound equipment. Evanchuk owns an auto stereo center, where he offers highly competitive car audio installation and repair services. He has written dozens of articles on different sound engineering topics, all of which have been published in leading journals, blogs, and websites.

