
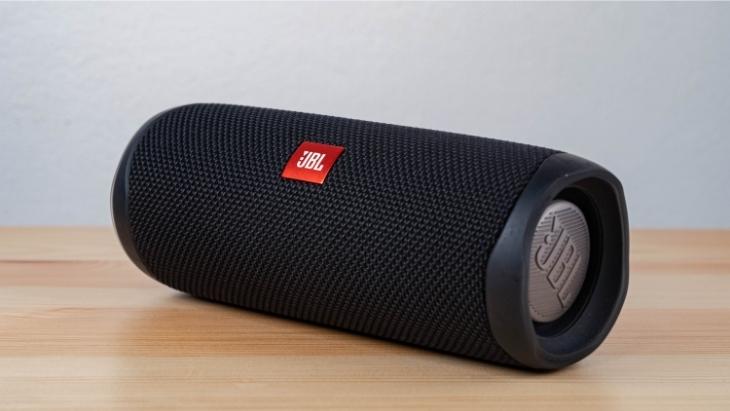
The JBL Flip 4 is one of the best-selling Flip series, thanks to its exceptional sound quality and surprisingly long battery life. This portable Bluetooth speaker is a great option if you are on the go, plus it delivers a surprising punch too. In addition, its 3000mAh Li-ion battery allows you to enjoy uninterrupted audio playtime of up to 12 hours or even more.
However, just like any other speaker, the JBL Flip 4 is bound to accumulate some dust and dirt at one time or another. The best part about the Flip 4 is that it comes in a waterproof design that allows you to bring the party anywhere. The waterproof construction also makes it easy to clean the unit, although you’ll still need to take extra care to avoid damaging internal components.
How to Clean JBL Flip 4
Step 1- Choosing cleaning materials
Before you commence any cleaning, you may want to establish what the speaker cabinet is made of. For instance, most speaker cabinets are composed of wood, but there are also a good number of speakers that are made of plastic composite, among other materials.
Generally, knowing the type of material used on the exterior is going to help you choose the right cleaning materials to use. The good news about JBL Flip 4 is that it comes in a plastic casing, so you don’t require expensive cleaners or supplies- you only need basic cleaning liquids and detergents, and you’re good to go.
Step 2- Cleaning the cabinet/outer body
First off, use a hand-held vacuum cleaner or a dust buster to blow any dust or dirt that may be resting on the outer cover of the speaker. Next, dip a soft cotton (microfiber) cloth in warm water and use it to gently wipe the outer body.
For better results, you can add a mild detergent of your choice (e.g. dish soap) into the cleaning water to make it easy to scrub out stubborn stains. You may also want to completely squeeze extra water from the cloth to avoid leaving marks on the speaker’s body.
Step 3- Accessing the inner body
The speaker drivers (woofer, midrange, and tweeter) are delicate components, so you may want to be extra careful when handling and cleaning them. Now, to access the drivers and the internal components in general, you’ll first need to remove the plastic cover housing them. Ensure to follow the instructions in the user manual to help remove the cover carefully.
Step 4- Cleaning the speaker drivers
Once you’ve successfully removed the outer casing, you can go ahead and clean the drivers, but you’ll need to be extra careful to avoid causing any damage. To clean the drivers, simply grab a can of compressed air and use it to blow out dust and dirt from the drivers.
If you can’t access compressed air, you can also opt to use an air duster, similar to the one that is often used to wipe the lenses of cameras. You’ll also need to get a small brush (e.g. a make-up or paint brush) with long but soft bristles to help remove any debris that might be trapped inside the drivers. Again, you must be very gentle when running the brush to avoid poking the drivers with bristle tips.
At this point, you can take the compressed air and use it to blow away the particles even as you continue to brush the drivers. Always ensure to maintain a distance of several inches from the drivers and always avoid blowing dust into them.
NB: Avoid splashing water or using any liquid when cleaning the drivers. Soaking the speaker drivers with liquids can result in undesired absorption or even lead to irreversible damages.
Step 5- Cleaning the area around the speaker drivers
After you’ve ascertained that the speaker drivers are free from debris, you can now focus on the area surrounding them. To achieve this, you can use a clean rag or cotton cloth to wipe the entire plastic body gently. If the speaker body needs extra cleaning (e.g. to remove fingerprints or stuck particles) you can dampen your cloth with a water solution or mild ammonia-free cleaning agent and use it to scrub the surface.
You can also use this time to clean the interior of the cabinet before reassembling your speaker. Again to achieve this, you can simply wet a clean rag and use it to get rid of accumulated dust and dirt, fingerprints, and any other visible grime.
Step 6- Reassembling
Once you’ve ascertained that the Flip 4 is completely free from any debris, you can now leave it to rest for several minutes to ensure that the parts have dried completely. At this point, you can reassemble the speaker by putting the protective cover back in place. You may also want to ensure that you replace all screws and other connectors.
Important tips for cleaning JBL Flip 4
In order to avoid damaging your Flip 4, here are essential cleaning tips to keep in mind;
- Always consult the user manual for specific cleaning instructions. Checking the manual will also prevent you from committing cleaning blunders and save a lot of time as well.
- Avoid using harsh cleaning solutions/ chemicals since they can potentially react with the speaker cabinet or damage the speaker altogether. If you must use cleaning agents, always go for a mild soap to help you clean the surfaces.
- If you only need to wipe the exterior cover of the speaker, then a dry cotton cloth should be more than enough. However, if the surface is grimy, you may want to include cleaning liquid (preferably warm water) and a mild detergent.
- Although JBL Flip 4 is entirely waterproof, avoid using water or any other liquid as much as possible to minimize the risk of damaging the internal components. Consider vacuuming or using an air compressor to blow away dirt and dust particles that may be trapped inside
- For best results, always take your time when cleaning your speaker. Also, failure to pay attention to the job at hand often results in shoddy work, and it can sometimes cause accidents.
Also Read: Why do My JBL Headphones Keep Turning Off?
Conclusion
The best thing about investing in JBL Flip 4 is that once you lay your hand on it, you can be assured of entertainment in full swing. However, when it comes to cleaning and maintaining the speaker, improper cleaning techniques can potentially damage the speaker components. As such, it is always a good idea to familiarize yourself with the proper cleaning techniques and material to use. Generally, cleaning the JBL Flip 4 is a relatively manageable process, but it is also quite delicate, so you might need to take special care.
Michael Evanchuk is a San Francisco-based sound engineer with 20 years’ experience installing, troubleshooting, and repairing commercial, automotive, and household sound equipment. Evanchuk owns an auto stereo center, where he offers highly competitive car audio installation and repair services. He has written dozens of articles on different sound engineering topics, all of which have been published in leading journals, blogs, and websites.


