
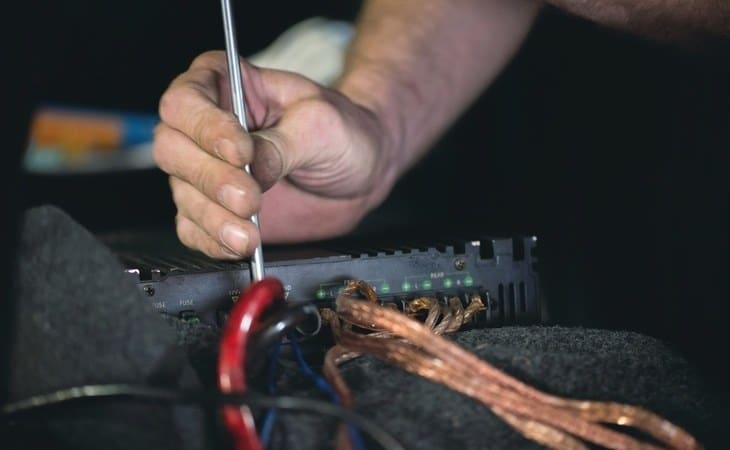
An amplifier remote turn on wire turns an amplifier on and off with the car. The wire is usually blue in color with a white stripe. However, connecting remote wire for amp requires sufficient knowledge on how to do it right.
If you fail to connect the remote wire properly, your amp may fail to turn on despite being properly ground and properly connected to the power source. If it turns on but the remote wire is improperly connected, it may draw power from the battery and drain it completely.
If you’ve just bought an amplifier for your car but don’t know how to connect the remote wire, we’ll guide you through the entire process. By learning where to connect remote wire for amp, your amp will turn on and off automatically without draining the battery.
Role of a Remote Wire for Amp
Before we discuss where and how to connect the remote turn-on wire for the amp, it’ll help to discuss the role of this wire. Basically, the remote wire outputs 12 volts on the positive terminal upon turning on the receiver. The remote wire receives 12 volts from the car battery upon turning on the ignition. As a result, the amplifier gets turned on when it senses the voltage in the remote wire. The amp shuts off upon turning off the car ignition as there’s no voltage in the remote wire.
Some technologically advanced amplifiers have an auto-turn-on mechanism. The mechanism turns on the amplifier once it notices a signal from the receiver through speaker level or RCA inputs. However, several amps don’t have this feature. Thus, you need to connect them to the remote wire. That way, the amp will turn on when turning on the ignition and turn off once the ignition is turned off.
Where to Connect Remote Wire for Amp
There’re several power locations in your car where you can connect the remote turn-on wire. Let’s discuss some of the most reliable options.
Connecting the remote wire to the ACC wire
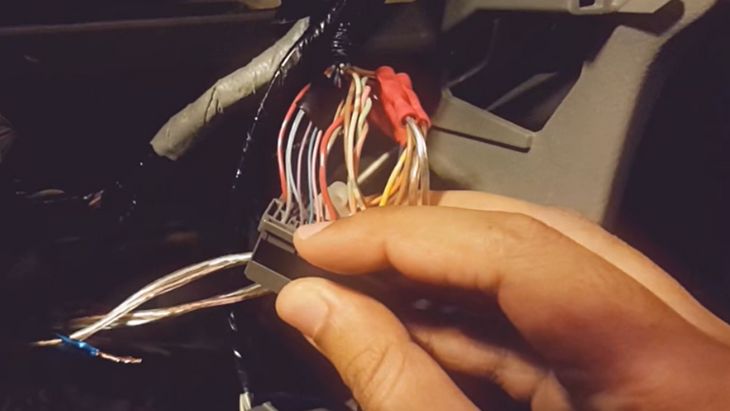
A typical car circuit includes Always-on, ACC, and Ignition. Always-on refers to a status where the circuit remains powered regardless of whether the car is turned on or off. Always-on is ideal for keeping the clock set, retaining preset radio stations, retaining custom settings, car alarms, and other data that requires an active power connection at all times.
On the other hand, the ignition is where engine electronics are powered to crank the engine. The ACC (accessory) position is where the engine isn’t running but accessories such as power windows, wipers, and head unit are running. The ACC circuit turns off when cranking the engine. Thus, the ACC circuit is exactly where you should connect the remote wire for amplifier.
One of the easiest ways of connecting remote wire to ACC circuit is to tap into the electrical wire for ACC. To do this, you can get a tap connector. Put the remote wire and the wire you’re tapping into the tap connector and clamp it. With this method, there’s no splicing or cutting. However, you may have to add a toggle switch along the remote wire to turn off the amplifier when the car is turned on but the radio is turned off.
Alternatively, you can use a relay to ensure the amp turns on or off automatically with the car key. Using a relay is especially necessary when connecting several amps to the head unit.
Tapping into the fuse box
Another area to hook the remote wire for amplifier is to tap into the car fuse box. The fuse box is likely to have empty slots. Preferably, use a slot that’s fused and one that gets powered when the car is turned on. However, tapping into the fuse box may require some technical expertise. If you’re not sure where the fuse box is located, check with the car manual.
Also, you can use a fuse diagram to know where to start. Just ensure the fused terminal powers up only when your car is turned on. You can test the slots on the fuse box with a voltmeter to determine the one that gets powered only when the car is turned on.
To do this, set the voltmeter to DC. Attach the test lead (black in color) to a proper grounding position. Insert the pointed red lead into one hole. Next, insert it into another hole. Continue doing this until the voltmeter reads 12 volts when the car is turned on and doesn’t show any voltage reading when the car is turned off. Connect the remote wire to that slot.
Connect to the power antenna wire
Another great location where to connect remote wire for amp is to hook it to the power antenna wire. For this to work, your car should have a powered antenna wire. The power antenna wire outputs 12 volts upon turning on the radio. Ensure the antenna wire also powers up in other head unit modes such as AUX, SD, and CD among others. That way, it’ll turn on the amp regardless of the audio source you’re using.
Connect to an amp turn on module
Alternately, you can connect the remote wire to a turn on module. The module is a device that provides the amp with a turn on signal. Most modules provide a turn on signal from voltage sources of at least 0.8 volts. In that case, you can hook the speaker wire to the module to trigger it to turn on.
Once the module senses some voltage coming from the speaker wire, it’ll send 12 volts to the amp to turn it on. You can connect a module to power several amps. Besides, using a module is simple and affordable.
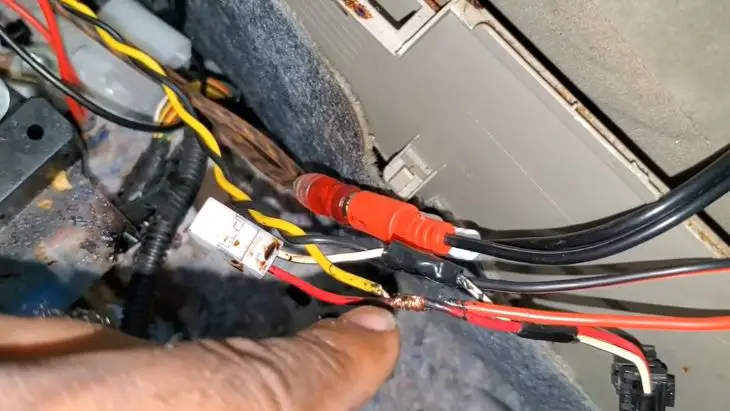
Hook into a switched 12 voltage source
Another easy way of connecting the remote wire for amp is to use any switched 12 volts power source. For instance, if you’ve installed your car amp in the trunk, simply connect the remote wire to the wire supplying the fuel pump with power.
Final Thoughts
As you can see, there’re several ways of connecting remote turn on wire for amplifier. By connecting remote wire for amp, your amp will only turn on when the car is turned on and turn off when the car is turned off with the car key. That way, it won’t drain your car battery when the engine is turned off.
Michael Evanchuk is a San Francisco-based sound engineer with 20 years’ experience installing, troubleshooting, and repairing commercial, automotive, and household sound equipment. Evanchuk owns an auto stereo center, where he offers highly competitive car audio installation and repair services. He has written dozens of articles on different sound engineering topics, all of which have been published in leading journals, blogs, and websites.


