
Setting up a PA system for the live performance demands getting everything right for your audience to enjoy the best sound experience. PA systems are especially important for karaoke, live music performance by a band, DJ performance, and public speeches. However, setting up a PA system can be quite challenging. All the equipment has to be configured the right way. Otherwise, you’ll get disappointed in the middle of your live performance. This article offers a DIY guide on setting up a PA system configuration. Read on to find out more.
What does a PA system Configuration include?
A basic PA system includes a microphone, mixer, and speakers. You might also need an amplifier depending on the kind of speakers you’ve chosen. Let’s look at these sound devices and how to configure them in detail. Before going forward, you may also like to learn about the Most Common Issues of PA Speakers.
Setting up a Microphone
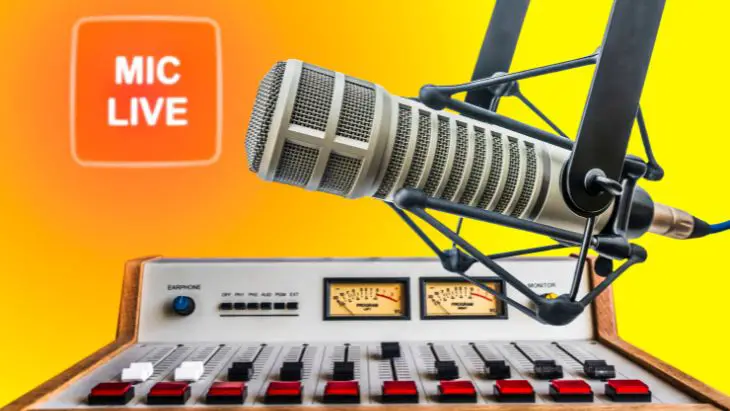
A microphone in a PA system is used for capturing vocals from the person speaking or from musical instruments such as guitars and drums. The kind of microphone you choose and how you’ll configure it will largely influence the overall sound experience. You can choose between three types of microphones for a PA system. These types are dynamic, condenser, and ribbon microphones.
Dynamic Microphones
Dynamic microphones are a type of microphone that uses a moving coil diaphragm. The coil is moved by a magnet. They’re reliable in capturing sound at high-pressure levels. Thus, they’re ideal for capturing sound from live vocals and bass guitars.
Condenser Microphones
Condenser microphones use a conductive diaphragm. The diaphragm is thin and sits near a metallic plate. The diaphragm vibrates upon receiving sound, thereby producing audio signals. Since condenser mics use the principle of capacitance, they’re most ideal for use where precision sound is needed. They’re best for use in a recording studio.
Ribbon Microphones
Ribbon microphones were the most popular microphones used in the past. However, they’re no longer popular. However, you can still find modern ribbon mics. These mics are ideal for live music recording that involves multiple instruments. They work best in a venue with manageable noise levels.
Setting Up Wired vs Wireless Microphones
Microphones can be either wired or wireless in terms of the mode of connection. The main benefit of wired microphones is their reliability. As long as you’re using a high-quality microphone cable, you’ll get a solid connection between the wired microphone and the mixer without the sound cutting out. On the contrary, a wireless microphone may cut out due to a weak signal or low battery power.
On the other hand, wireless microphones give you the freedom to move around within their radius of transmission. Wireless microphones are also quicker to set up and reduce the clutter that results from cabling. However, a wireless microphone requires batteries and is often more expensive than a similar type of wired microphone.
If you’re setting up a wired microphone, you’ll connect one end of the cable to the microphone and the other end to the mixer. Some powered speakers have a mic-level input port and you can connect the microphone directly to such a powered speaker. If your speaker doesn’t have a microphone input port, then connect the microphone cable to the microphone input on the mixer.
If you’re setting up a wireless microphone, ensure it is fully charged. If it’s not rechargeable, ensure the batteries in the microphone are strong enough to last the whole event. It will help to carry replacement batteries just in case the current batteries run out before the event ends. When setting up a wireless mic, you’ll need to connect the wireless receiver or adapter to the microphone input port on the mixer. If your powered speaker has a mic input port, then you can connect the microphone wireless receiver to the mic input port.
Microphone Placement
When configuring your microphone, its placement on the stage matters a lot. The most important thing to remember is that a microphone should always be positioned behind the speakers. If you’ll be using a wireless microphone, ensure the performer using the microphone doesn’t step in front of the speakers. Using a mic behind a speaker reduces the risk of producing feedback. Feedback is a disturbing noise that occurs when a microphone picks up its own sound from a speaker. Thus, the microphone stand and performer should always stay behind the speakers to minimize feedback.
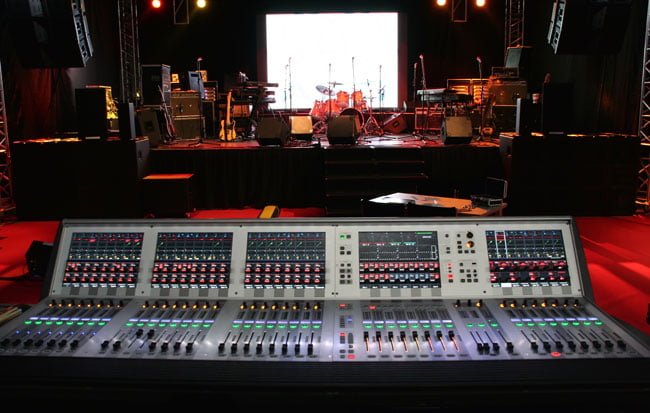
Setting up a Mixer
A mixer is like the brain of a PA system. If you’re setting up for a small performance with just a microphone and powered speakers, and the powered speaker has a mic input, then you don’t need a mixer. However, if you’re setting up for a big gig that needs multiple microphones and other sound sources such as keyboards, guitars, and drums, then you definitely need to use a mixer.
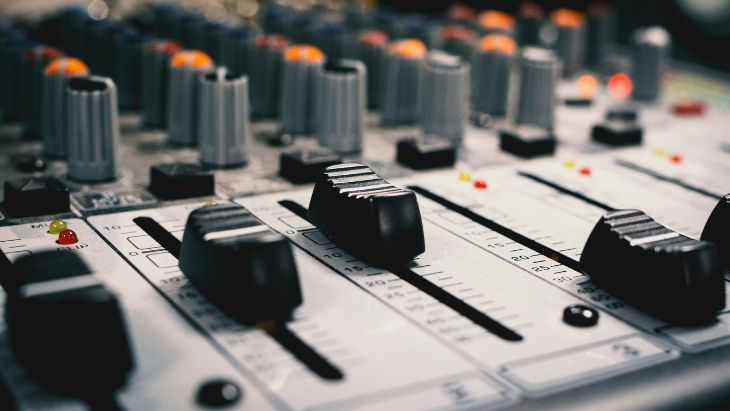
A mixer is a piece of sound equipment that receives audio signals from multiple sources, combines them, and sends the sound to an amplifier or powered speaker. Thus, a mixer should be installed between the sound sources and the amplifier or powered speaker. When choosing a mixer, ensure it has all the inputs and outputs you need, and its equalizer has all the functionalities you want.11
When connecting audio sources to the mixer, ensure each sound source is connected to the correct input port on the mixer. Microphones should be connected to the mic-level input. CD players and MP3 players should be connected to the respective line input. Guitars and keyboards can be connected through the instrument-level input. If your mixer doesn’t have instrument-level inputs, then use mics to pick up sound from the instruments. You can also connect the instruments to a DI box, then connect the DI box to the mic-level input in the mixer.
Setting up the Speakers
Speakers reproduce sound from the sound sources upon amplification. PA speakers are either active (powered) or passive. Active speakers have an inbuilt amplifier. Thus, they can be used directly with sound sources without an external amplifier. On the other hand, passive speakers should be connected to an external amplifier. Some PA speakers come as a pair of active and passive speakers, whereby the active speaker powers the passive speaker. Passive speakers are best for large venues and more permanent installations whereas active speakers are best for performers who are always on the move and for small venues.
If you’re setting up for a small room, a small speaker will suffice. However, for a medium to a large outdoor venue, then you’ll need larger, powerful speakers for wider sound coverage. Also, ensure the power rating of the amplifier matches that of the speaker to avoid under-powering or overpowering the speakers.
Speaker placement is very important when configuring a PA system. When setting up two speakers, place one at the left of the stage and the other on the right side of the stage. Also, the speakers should be positioned away from the wall and should be in front of the microphones. The speakers should be positioned in such a way that they direct sound towards the middle of the room. If you’re setting up multiple speakers, position them in such a way that they form an arc along the stage. The rule of the thumb is to ensure they all direct sound towards the middle area of the venue.
If you’re setting up for a live band in a large venue, then you may have to add monitor speakers. Monitor speakers should be positioned to face the performers rather than the audience. They assist performers in hearing themselves, thereby helping them to sound their best.
Testing and Configuring Your PA Sound System
Now that you’ve assembled and connected everything together, it’s time to test whether everything is sounding right. Before turning on the equipment in your sound system, ensure the volume and gain buttons are all turned down to their lowest levels. Doing so will avoid damaging a component, especially the speakers, just in case the volume is higher than what they can take. Next, turn on the equipment. Try to speak into the mic and adjust the volume on the mixer, amplifier, or powered speaker to the best level. Also, test the instruments and all other sound sources.
When adjusting the volume and gain, avoid turning the levels all the way up as it may cause distortion. If you notice any distortion, turn down the volume to the level you hear clear sound. If something sounds wrong when doing a sound test, check the connections and test again. If a component is not working and all connections are done properly, have it tested and repaired by a technician, else replace it. If everything sounds right, then you’re ready for the live event.
Michael Evanchuk is a San Francisco-based sound engineer with 20 years’ experience installing, troubleshooting, and repairing commercial, automotive, and household sound equipment. Evanchuk owns an auto stereo center, where he offers highly competitive car audio installation and repair services. He has written dozens of articles on different sound engineering topics, all of which have been published in leading journals, blogs, and websites.


